Postprocessing in Photoshop
Section A explains how to do some cosmetic corrections to your image. If you are not interested in this type of processing, go straight to Section B, which corresponds to luminosity's retouches, and also contrast, levels and image size.
A. Elimination of imperfections
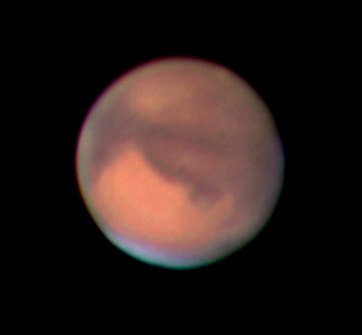
If any dust still remains after all the preprocessing made (flats) and you want to remove this defect, you can tune the image with Photoshop, the software produced by Adobe.
Remember that from now, you enter into sin  because you'll introduce parts in the image that don't exist in reality. However, if the image of the planet is not well defined (if it isn't a very high resolution image), borrowing a small piece of the image located near the defect won't constitute as a offense punishable by law!
The cosmetic corrections, we like or not...choose your side!
Pay attention please...Photoshop is a tool to use as a last resort, if it remains dusty after the technique of flats.
Flats can remove dust while keeping the details of the image, while Photoshop introduces some fictitious areas (but nearly similar to the "healthy" areas) instead of dust!
How to proceed
First load your image in Photoshop, then use the Zoom Tool (Z) located in the window's tools at the left of the screen to highlight its defects.
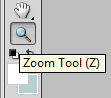
At any moment, you can return to normal display along the "View" menu at the top of the screen, then selecting "Actual Pixels". Also note the options "Zoom In" and "Zoom Out".

For the globe
Then search the tool named "Healing Brush Tool (J)" 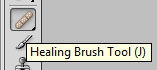 in the same vertical window, and right-click on it. Choose
  , then move the mouse near a defect in the image.
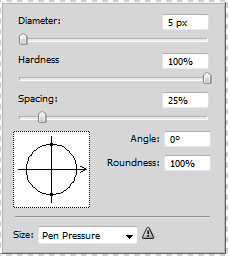
Right-click, a box appears that allows you to adjust the diameter of the Healing Brush Tool
, then move the mouse near a defect in the image.
Right-click, a box appears that allows you to adjust the diameter of the Healing Brush Tool  (5 to 10 pixels according to the size of the dust to erase).
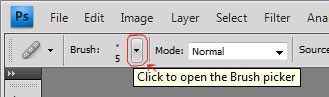
You can also access this setting from the menu at the top of the screen:
Once this is done, press the "Alt" key on your keyboard (a viewfinder appears) and click on the image area that you'll use to take a "healthy" sample.
Release the "Alt" key and move the mouse to a dust spot. Click and the dust disappears...it's a true magic trick!  The main interest of this corrector is its ability to automatically match up contrast and tones.
It is often necessary to repeat the exercise several times by varying the size of the corrector and the healthy areas to remove the undesirable dust completely .
The main interest of this corrector is its ability to automatically match up contrast and tones.
It is often necessary to repeat the exercise several times by varying the size of the corrector and the healthy areas to remove the undesirable dust completely .
Tip : If you aren't satisfied with a correction, you can go back by pressing successively on the keys "Ctrl" and "Z".
|
|
| |
|
|
|
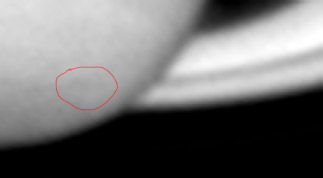
| Large marks of dust must be removed... |
We should not exaggerate with the cosmetic's corrections, the risk of removing real details is well present! |
There is also another type of more powerful Brush Tool  you can use by right-clicking on it in the left window. This is the tool "Spot healing brush tool"
  .
.
After having selected and adjusted its diameter using the right-click, go back on your image and simply click on each dust speck. Like waving a magic wand , they disappear!  The corrector uses pixels close to each dust particle to remove it. It is less efficient than the first corrector J on the edges of rings or the Saturn's globe which are closed to the sky's background, because it tends to be inspired by this last one to tune these areas.
 |
|
Saturn had not been processed with the technique of flats, so the Spot Healing Brush Tool helped me in less than 15 minutes to remove many dust. However, they were so numerous that there are still scars. With the flats, no problem!
|
For the rings
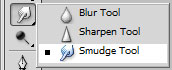
Although previous correctors can be used successfully on Saturn's rings, there is another type of corrector more suited to this particular case. This is the "Smudge Tool"  available from the menu to the left of the screen. A logo "Blur Tool"
  can replace it but don't worry! So, again: right-click on the icon, then select the "Smudge Tool".
Backtrack on the planet, and right-click to set the diameter of the "Smudge" tool (5-10 pixels). Select a place on a region of the rings near the imperfections, then hold the mouse button and drag along the region to modify. Dust disappears! In fact, this correction tool quite simply extends the source area to the sick area.
 |
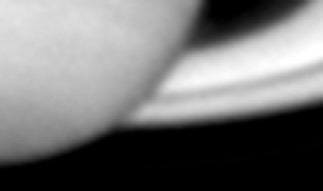
| After 5 minutes of tuning, it's getting better! |
The most difficult areas to be tuned in Saturn's case are those near the edge of the globe and the rings.
|
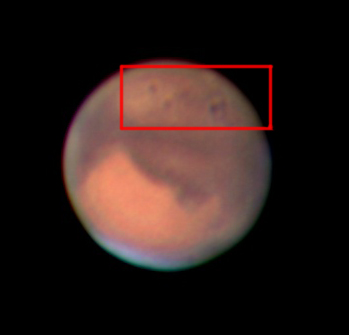
Corrections made on the images on this page are obviously not work of art. They show what can be achieved within a few minutes without being an expert. By taking more time, you'll come to get much better results, I'm convinced.
|
|
|
B. Setting levels, contrast,...
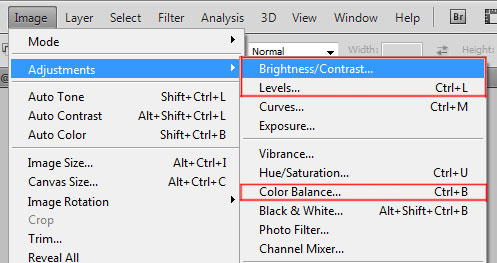
The sub-menu "Adjustments" from the menu "Image" lets you adjust several settings for your image. These are framed in red on the image below.
1. Levels
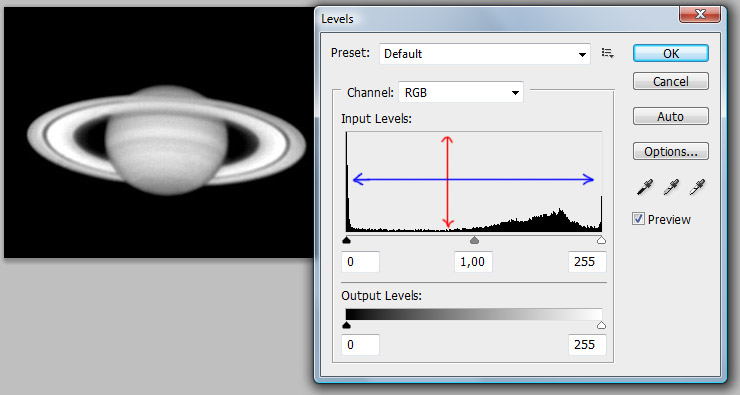
The setting of levels is very important in deep sky astrophotography, less in planetary imaging. However, nothing prevents us from using it in view of its proven value, even for planets. The adjustment is done through a histogram. It's a graph showing the distribution of pixels of the image according to their brightness. In the dialog box visible below, the blue arrow gives information about the spread of Grey scale and the red arrow the amount of pixels per level. The dark pixels are at the left of the histogram, those of mid-tones are located on its right. The bar at the bottom of the dialog is also the gradient levels.
Under the histogram, three sliders can alter the appearance of the image. Moving the black cursor to the right will decrease the brightness of dark pixels. The brightness of Grey's levels is increased when the Grey cursor is moved to the left and reduced when we move it on the right. In conclusion, it lightens the image by moving a cursor to the left and the contrary when we shift it to the right. Don't touch the white cursor because parts of the image being white are simply saturated and increasing the level of white would spread the saturation of these areas even more.
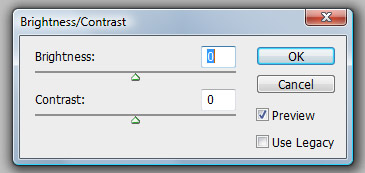
2. Brightness & Contrast
The settings for brightness and contrast are made simply by varying the right sliders while observing the effect produced in live...
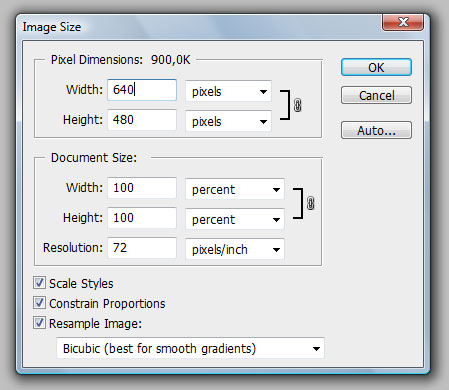
3. Set size of the image
If you believe that your image is too large (or too small), you can adjust its size from the menu "Image" at the top of the screen. Instead of inches, you can choose % (percent). Make sure the box "Scale Styles" is checked and indicate the type of re-sampling you want to use. To increase the image size, choose the "Bicubic" setting. Otherwise, choose "Bilinear".
So, your image only has to be saved!
To do this, go to the "File" menu, then "Save As" and choose a non-destructive image's format (eg. BMP). If you want to show your masterpiece through the Internet, convert your image in .jpg via the "File" menu and "Save for Web & Devices" option that allows you to select the compression ratio to be applied (70-80% is recommended).
Wow, you got there! Congratulations for the work done, whatever the result. 
Back to the tutorial in COLOR (soon available) |
|